Clean White Theme for Hugo
CleanWhite is a clean, elegant, but fully functional blog theme for Hugo. Here is a live demo site using this theme.
It is based on huxblog Jekyll Theme and Clean Blog Jekyll Theme.
These two upstream projects have done awesome jobs to create a blog theme, what I’m doing here is porting it to Hugo, of which I like the simplicity and the much faster compiling speed. Some other features which I think could be useful, such as site search with algolia and proxy for Disqus access in China, have also been built in the CleanWhite theme. Other fancy features of upstream projects are not supported by this Hugo theme, I’d like to make it as simple as possible and only focus on blog purpose, at least for now. While I created this theme, I followed the Hugo theme best practice and tried to make every part of the template as a replaceable partial html, so it could be much easier for you to make your customization based on it.
Screenshots
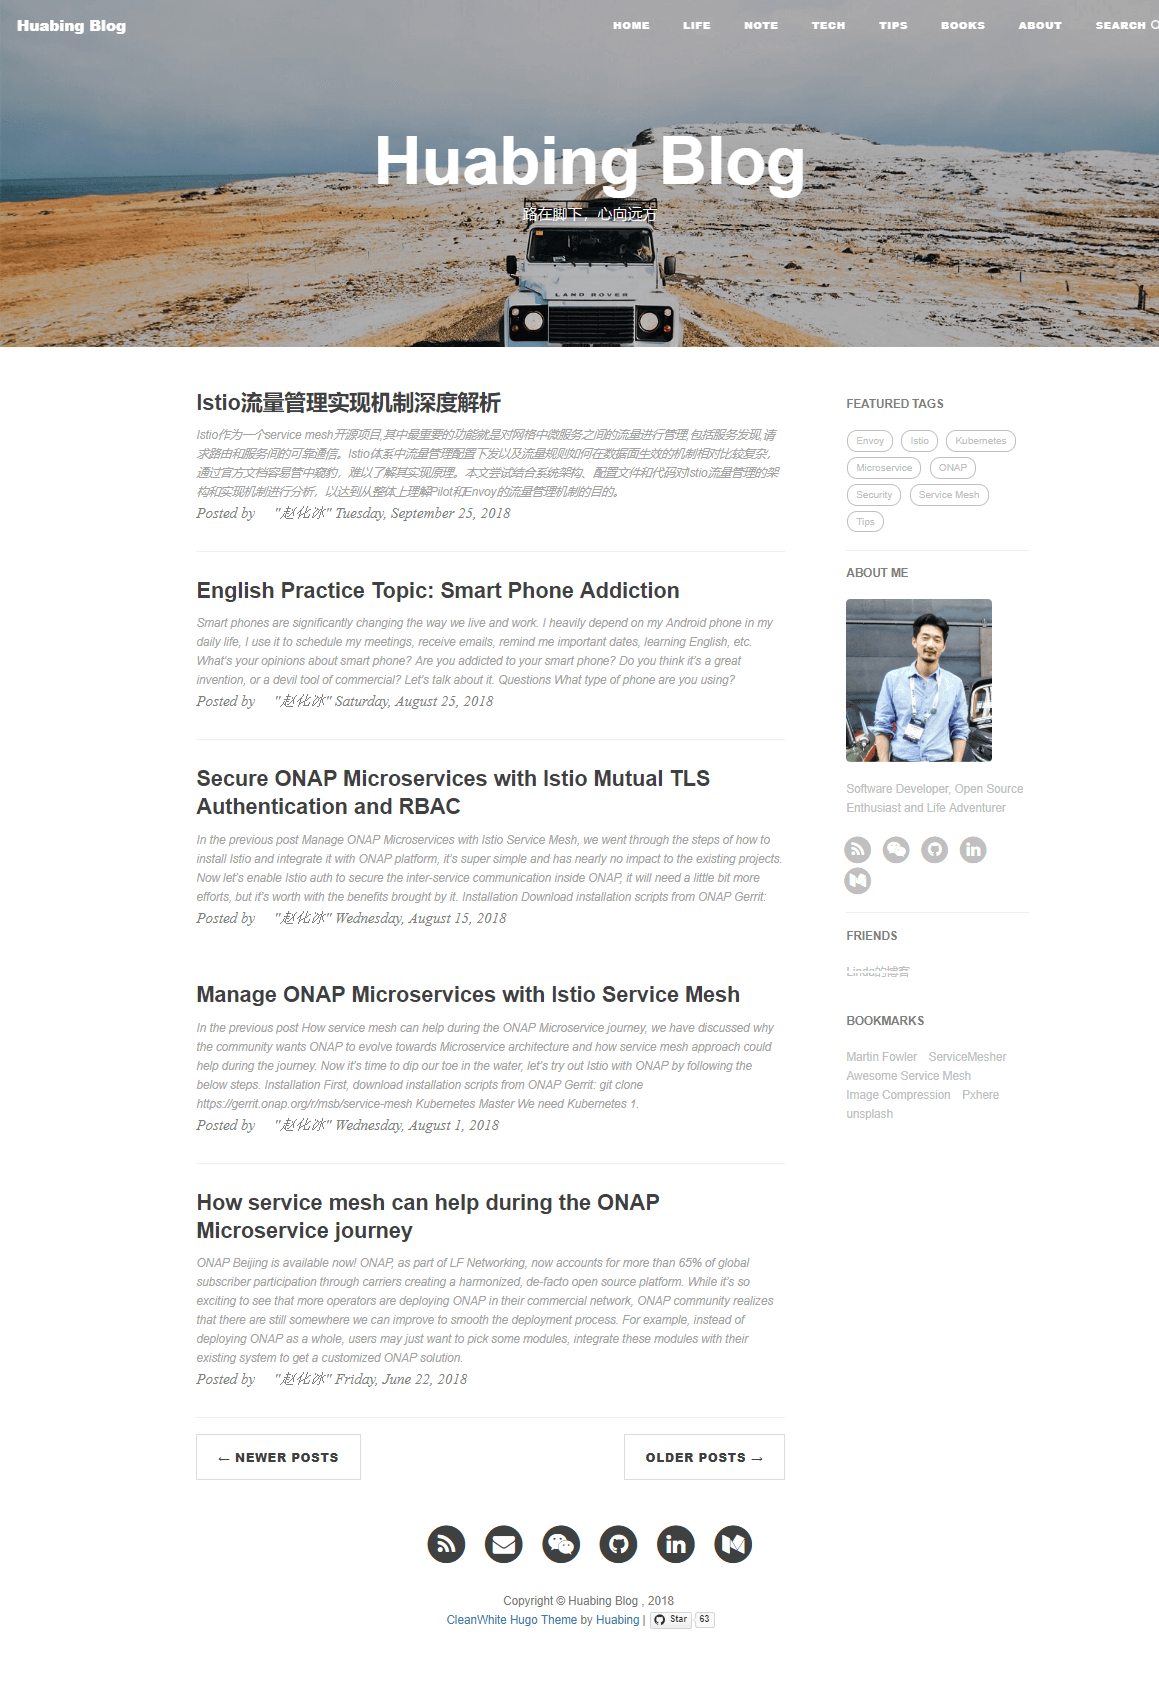
Home

Post

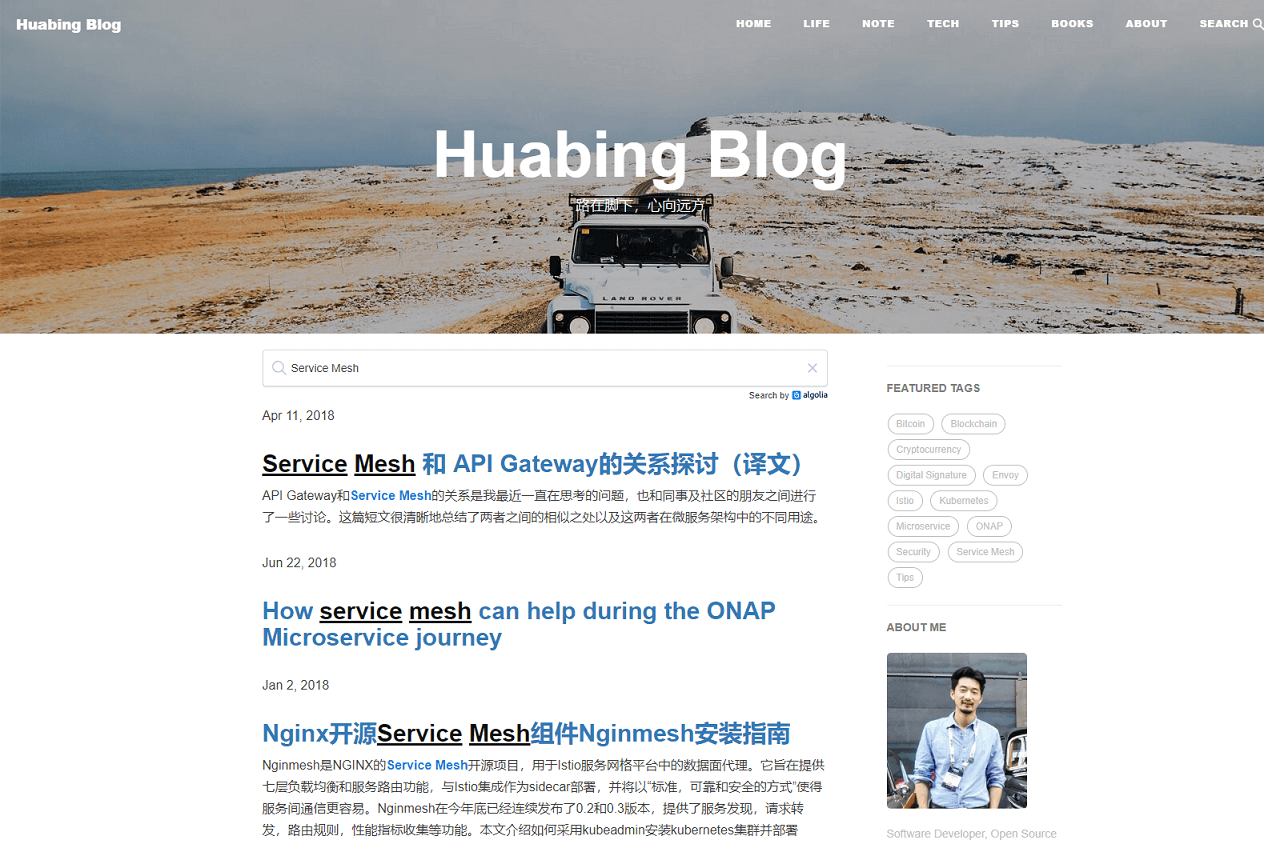
Search

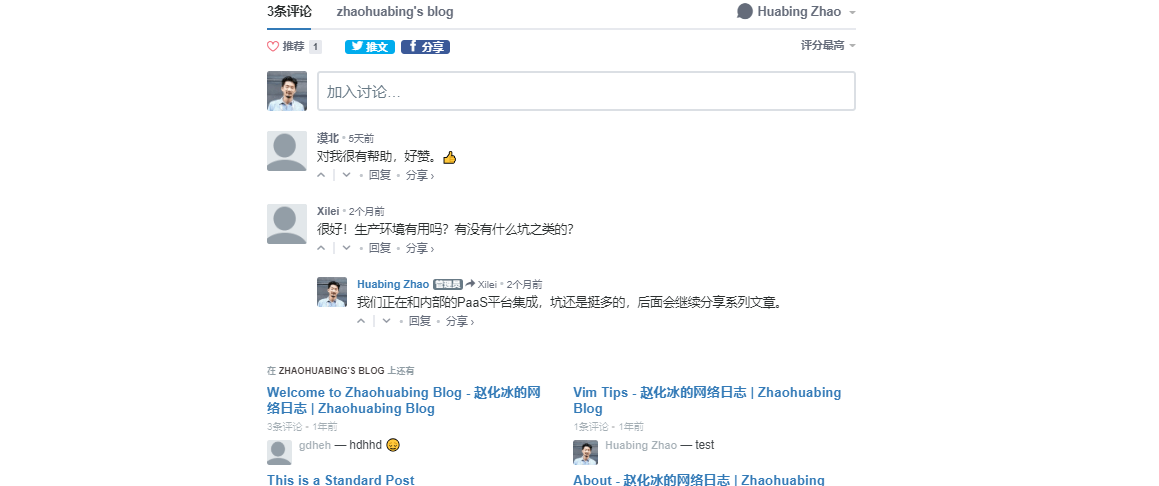
Disqus

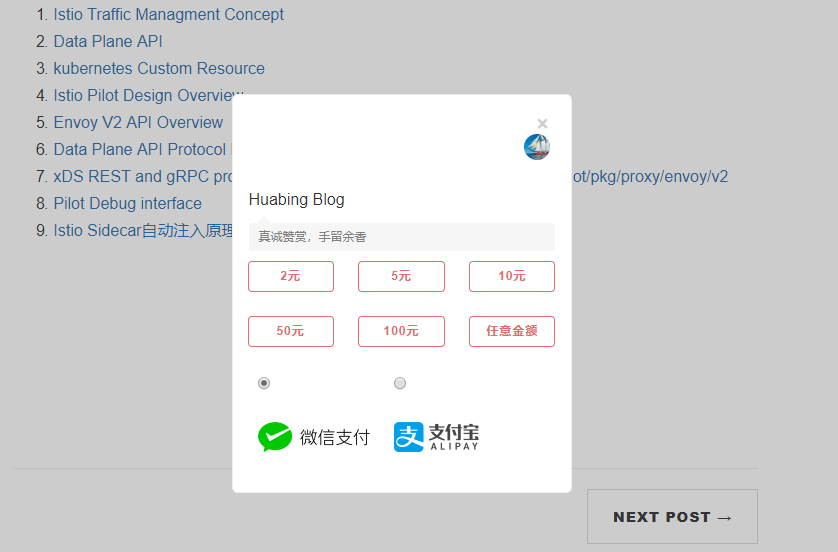
Wechat Pay & Alipay

Quick Start
Go to the directory where you have your Hugo site and run:
$ mkdir themes
$ cd themes
$ git clone https://github.com/Rock/hugo-theme-cleanwhite.git
If your site is already a git project, you may want to choose to add the cleanwhite theme as a submodule to avoid messing up your existing git repository.
$ mkdir themes
$ git submodule add https://github.com/Rock/hugo-theme-cleanwhite.git themes/hugo-theme-cleanwhite
Run Hugo Build-in Server Locally
$ hugo serve -t hugo-theme-cleanwhite
Now enter localhost:1313 in the address bar of your browser.
If you start from scratch, there is a working Hugo site configured with the CleanWhite theme in the exampleSite directory. You can use it as a starting point for your site.
For more information read the official setup guide of Hugo
Configuration
First, let’s take a look at the config.toml. It will be useful to learn how to customize your site. Feel free to play around with the settings.
Comments
The optional comments system is powered by Disqus. If you want to enable comments, create an account in Disqus and write down your shortname.
disqusShortname = "your-disqus-short-name"
You can disable the comments system by leaving the disqusShortname empty.
Disqus in China
Disqus is inaccessible in China. To get it to work, we can set up a proxy with disqus-php-api in a host which sets between the client browser and the Disqus server. The idea is that if Disqus can be reached in the guest network, the blog page will show the original Disqus comments UI, otherwise, it will downgrade and use the proxy to access the Disqus, the UI will be a little different, but the visitors can still write their comments on the page.
The client side java script has already been integrated to CleanWhite them, but you need to set up a proxy server yourself.
The proxy is written in php, which can be found here: https://github.com/Rock/disqus-php-api/tree/master/api
You need to specify your Disqus account information in the config.php.
define('PUBLIC_KEY', '');
define('SECRET_KEY', '');
define('DISQUS_USERNAME', '');
define('DISQUS_EMAIL', '');
define('DISQUS_PASSWORD', '');
define('DISQUS_WEBSITE', '');
define('DISQUS_SHORTNAME', '');
Set the proxy server address in the site config file of your Hugo project.
disqus_proxy = "http://yourdisqusproxy.com"
Site Search with Algolia
Follow this tutorial to create your index in Algolia. The index is just the storage of the indexing data of your site in the the cloud . The search page of CleanWhite theme will utilize this indexing data to do the search.
Go to the directory where you have your Hugo site and run the following commands:
$ npm init
$ npm install atomic-algolia --save
Next, open up the newly created package.json, where we’ll add an NPM script to update your index at Algolia. Find “scripts”, and add the following:
"algolia": "atomic-algolia"
Algolia index output format has already been supported by the CleanWhite theme, so you can just build your site, then you’ll find a file called algolia.json in the root, which we can use to update your index in Algolia. Generate index file:
$ hugo
Create a new file in the root of your Hugo project called .env, and add the following contents:
ALGOLIA_APP_ID={{ YOUR_APP_ID }}
ALGOLIA_ADMIN_KEY={{ YOUR_ADMIN_KEY }}
ALGOLIA_INDEX_NAME={{ YOUR_INDEX_NAME }}
ALGOLIA_INDEX_FILE={{ PATH/TO/algolia.json }}
Now you can push your index to Algolia by simply running:
$ npm run algolia
Add the following variables to your hugo site config so the search page can get access to algolia index data in the cloud:
algolia_search = true
algolia_appId = {{ YOUR_APP_ID }}
algolia_indexName = {{ YOUR_INDEX_NAME }}
algolia_apiKey = {{ YOUR_SEARCH_ONLY_KEY }}
Open search page in your browser: http://localhost:1313/search
Analytics
You can optionally enable Google or Baidu Analytics. Type your tracking code in the
googleAnalytics = "G-XXXXX"
ba_track_id  = "XXXXXXXXXXXXXXXX"
Leave the googleAnalytics or ‘ba_track_id ’ key empty to disable it.
Wechat Pay & Alipay Rewards
You can enable Wechat Pay & Alipay to allow readers send you money. So if they like your articles, you may even get rewards from your writing. Now you must be motivated to write more.
- Enable Wechat Pay & Alipay in the site config
reward = true
- Replace the QR codes of Wechat Pay & Alipay by overriding the photos in folder /static/img/reward/, otherwise the money will be sent to my accounts!
Thank
Thanks for the great jobs of huxblog Jekyll Theme and Clean Blog Jekyll Theme which are the the two upstream projects CleanWhite Hugo theme is based on.
Feedback
If you find any problems, please feel free to raise an issue or create a pull request to fix it.
If it’s helpful for you, I would appreciate it if you could star this repository, thanks!
「真诚赞赏,手留余香」
真诚赞赏,手留余香
使用微信扫描二维码完成支付
